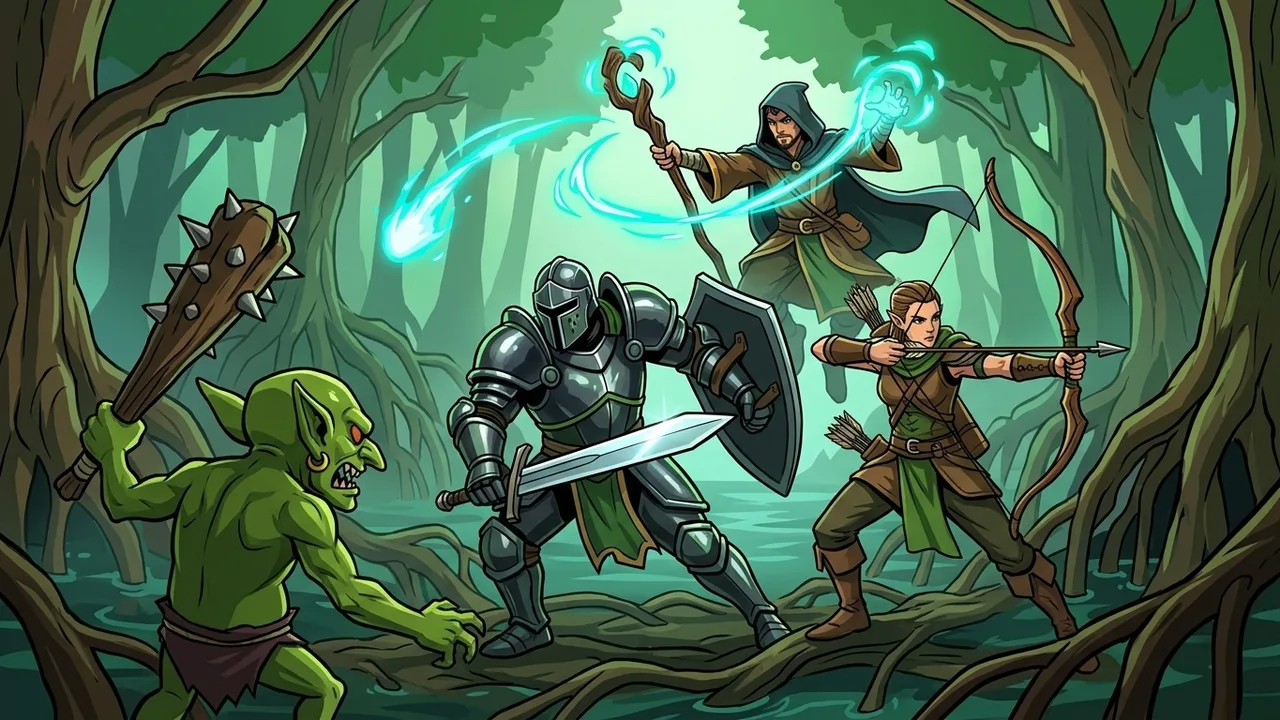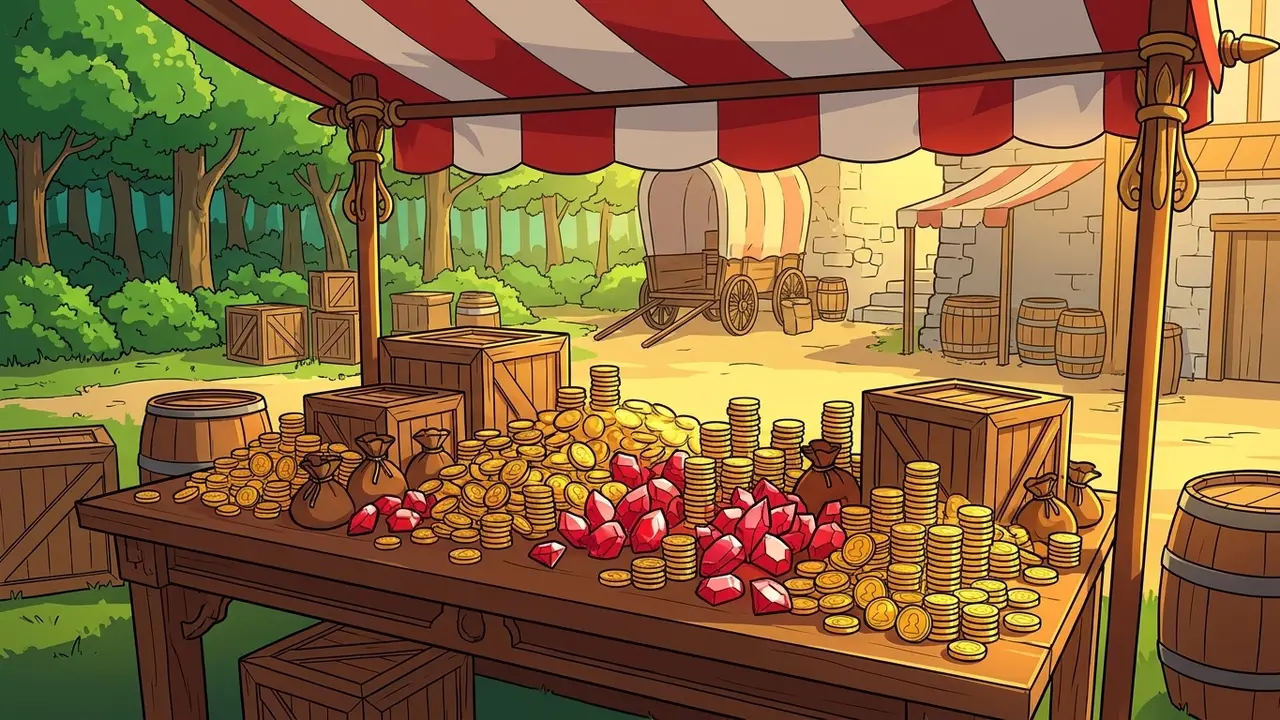
Every enemy that pays GP drops a range of it on each kill, and dungeons add a fixed GP reward and a chest. A Golbin drops 10 to 40 GP, while a Drowned Overmind drops 345 to 1,330. Pick the area that pays most for your level, and finish dungeons for chests that sell for up to 32,000 GP. Test a fight in the combat simulator first.
Where combat GP comes from
The GP drop is a minimum and a maximum, rolled on every kill, and it comes on top of the item drops. Bosses are the exception: Ghelbak, the Hob Chief and Kraken, the Drowned Overlord drop no GP of their own, and their dungeon pays a fixed reward instead. Level is only a rough guide to pay, as two enemies at combat level 70 show: a Sea Drake drops 183 to 813 GP, and a Sand Nomad Warrior drops 119 to 460. GP is paid per kill, so the hitpoints you chew through for each payout are the other half of the choice. Styles and hit chance are in the combat guide, and GP from skills is in the money making guide. A Baby Wurm drops 267 to 1,030 GP and has 2,200 hitpoints, while a Wind Elemental drops 173 to 768 GP and has 1,150.
Early levels
Golbin Forest holds the first enemies, and Slime Forest is the next step up in pay. A Green Slime at combat level 12 drops 29 to 119 GP, while a Hobgolbin at the same level drops 17 to 65. The Slime a Green Slime always drops sells for 1 GP, so the gear in its table is the only item value there. That table rolls 20% of the time and can give an Amulet of Melee, which sells for 769 GP. Stinging Nest needs Slayer level 15 and pays more again, since a Bee at combat level 23 drops 42 to 177 GP. Its Royal Bee, at combat level 43, can drop Royal Honey, which sells for 354 GP.
| Monster | Combat Lvl | Hitpoints | Attack Style | Interval | Notable Drops |
|---|---|---|---|---|---|
| 1 | 20 | Melee | — | ||
| 12 | 70 | Melee | — | ||
| 12 | 50 | Melee | — | ||
| 14 | 60 | Ranged | — | ||
| 16 | 70 | Magic | — | ||
| 22 | 100 | Ranged | — | ||
| 23 | 140 | Ranged | — | ||
| 27 | 190 | Ranged | — | ||
| 28 | 140 | Magic | — |
Mid levels
Dragon’s Pass needs Slayer level 40 and a shop purchase. Its Red Dragon, combat level 75, drops 176 to 680 GP and a Dragon Bone every kill. The Dragon Bone sells for 165 GP. Silted Oasis opens once a quest is complete, and its Silt Mass is the standout for its level. At combat level 58 it drops 124 to 544 GP, while a Blackstone Roller at the same level drops 75 to 290. The Silt Mass table rolls every kill and can give Mud Wizard Bottoms, which sell for 393 GP. The Stone Gargoyle in the Mausoleum is combat level 60 and drops 102 to 393 GP. Its table rolls every kill and can give 10 to 20 Runite Ore, Silver Bar or Gold Bar. Sea Cliffside opens with a quest too, and its Sea Drake also drops a Dragon Bone every kill. The Sea Drake table can give Rune Gloves or Rune Boots, which both sell for 365 GP. Toxic Bog needs Slayer level 25 and a shop purchase. Its Plaguewing, combat level 50, drops 62 to 240 GP and sometimes a Plaguewing Heart, which sells for 164 GP.
| Monster | Combat Lvl | Hitpoints | Attack Style | Interval | Notable Drops |
|---|---|---|---|---|---|
| 36 | 250 | Ranged | — | ||
| 43 | 330 | Magic | — | ||
| 45 | 530 | Ranged | — | ||
| 50 | 420 | Ranged | — | ||
| 55 | 740 | Ranged | — | ||
| 58 | 520 | Melee | — | ||
| 58 | 800 | Magic | — | ||
| 60 | 500 | Melee | — | ||
| 65 | 850 | Ranged | — | ||
| 70 | 1,220 | Melee | — |
High levels
The Baby Wurm in Sea of Sand, combat level 79, drops 267 to 1,030 GP. Its table rolls every kill and includes a Dragon Spear that sells for 1,729 GP. Gemstone Pinnacles needs Slayer level 85 and Agility level 85, and its Black Dragon drops 200 to 770 GP. A Black Dragon also drops a Dragon Bone every kill, and its table can give a Dragonite Bar, which sells for 307 GP. Storm Valley needs Slayer level 92 and Agility level 92. Its Storm Dragon, combat level 92, drops 280 to 1,080 GP and a Large Dragon Bone every kill, which sells for 333 GP. The top of the range is Drowned Abyss, which needs Slayer level 95 and a shop purchase. A Krakeling there drops 339 to 1,305 GP, a Drowned Flayer drops 329 to 1,265, and the Drowned Overmind drops 345 to 1,330. The Drowned Flayer table rolls 20% of the time and can give 1 to 20 Dragon Scimitar, which sell for 1,086 GP each. A Krakeling table with the same 20% roll can give 10 to 150 Gold Diamond Amulet, which sell for 820 GP each.
| Monster | Combat Lvl | Hitpoints | Attack Style | Interval | Notable Drops |
|---|---|---|---|---|---|
| 75 | 1,300 | Ranged | — | ||
| 78 | 1,150 | Magic | — | ||
| 79 | 2,200 | Melee | — | ||
| 85 | 1,480 | Ranged | — | ||
| 92 | 4,200 | Ranged | — | ||
| 94 | 2,550 | Melee | — | ||
| 95 | 2,470 | Melee | — | ||
| 96 | 2,600 | Magic | — |
| Combat Area | Type | Difficulty | Resident Enemies | Unlock Requirement |
|---|---|---|---|---|
| CombatArea | Elite | Shop purchase | ||
| CombatArea | Elite | Special requirement | ||
| CombatArea | Elite | Level 85 Slayer Level 85 Agility Special requirement Shop purchase | ||
| CombatArea | Elite | Level 75 Slayer Shop purchase | ||
| CombatArea | Elite | Level 90 Slayer Shop purchase | ||
| CombatArea | Elite | Level 92 Slayer Level 92 Agility Special requirement Shop purchase | ||
| CombatArea | Elite | Level 94 Slayer Level 94 Agility Special requirement Shop purchase |
Dungeon rewards and chests
A dungeon pays once per clear: a fixed amount of GP and one chest. The chest is an item with its own sell value, and the gap can be wide. Blood Sanctum pays 2,000 GP on completion, while its Blood Sanctum Chest sells for 22,000. Murkwood Lair pays only 600 GP, but its chest sells for 2,750. Kraken’s Domain pays 6,000 GP and its Kraken Chest sells for 32,000. Wurm Hunt adds 12 to 20 Sand Wurm Hide, which sells for 587 GP each, to 6,000 GP and a Wurm Chest worth 10,000. Kraken’s Domain also sends Krakelings at you before its boss, and each Krakeling carries a 339 to 1,305 GP drop. The dungeons guide covers each boss, and the chests guide covers what a chest holds.
| Dungeon | Difficulty | Waves | Enemies & Bosses | Key Rewards | Unlock Requirement |
|---|---|---|---|---|---|
| Easy | 4 | Defeat 15 Hobgolbin | |||
| Intermediate | 4 | Defeat 20 Jack O Lantern | |||
| Advanced | 4 | Complete 5 Slayer Tasks | |||
| Advanced | 4 | Defeat 40 Murkwood Weaver | |||
| Advanced | 3 | Defeat 60 Blackstone Golem | |||
| Elite | 4 | Complete 10 Slayer Tasks | |||
| AwHellNah | 2 | Defeat 200 Drowned Overmind Level 99 Fishing Complete 10 Slayer Tasks | |||
| Elite | 2 | Level 92 Hunting Level 92 Agility Special requirement Special requirement | |||
| Elite | 4 | Defeat 65 Sand Sentinel Level 82 Agility Special requirement | |||
| Elite | 4 | Defeat 80 Hypnotic Glowsquid Level 72 Agility Special requirement | |||
| Elite | 4 | Defeat 100 Black Dragon Level 88 Agility Special requirement | |||
| Elite | 2 | Defeat 100 Scar Golem Level 83 Astrology | |||
| Easy | 2 | Special requirement Active quest | |||
| Easy | 4 | Active quest |
Sell it, process it or keep it
Many drops are worth more after a skill has worked on them. A Storm Dragonhide sells for only 25 GP, but 3 hides and a Cowhide craft into 2 Storm Dragonhide Leather, which sells for 261 GP each. The Black Dragonhide runs the other way: it sells for 176 GP raw, while each of the 2 leathers made from one hide and one Cowhide sells for 117. Runite Ore sells for 30 GP, but 1 ore and 6 Coal smelt into a Runite Bar that sells for 137. That makes the Stone Gargoyle’s ore a smelting job and not a sale. A Jadestone from the Drowned Overmind sells for 334 GP. Crafting level 98 turns 1 Jadestone and 2 Gold Bars into a Gold Jadestone Amulet, which sells for 1,028 GP. The Stone Gargoyle also drops Gold Bars, so one fight can feed both halves of that recipe. Dragon Bone is the input of the Beastcrafting recipe Crushed Dragon Bone, so a stack of them has a use besides the merchant. Some drops are worth keeping for a different reason: the Wurm Lure sells for 2,955 GP, but Wurm Hunt needs one in your toolbelt and the Sea of Sand area effect removal takes two. A Drowned Orb sells for 256,128 GP, and the Drowned Abyss removal asks for 2 of them.
Slayer Coins, the second currency
Slayer Coins, shown as SC, are a second currency that the Slayer shop spends. Enemy drops such as the Golbin’s and the Drowned Overmind’s list Gold Pieces and no Slayer Coins. The slayer guide covers the tasks on that side. The Slayer Loadout costs 5,000 SC and needs Slayer level 15. The Basic Food Resupply gives 20 Salmon and 20 Lobster for 15,000 SC. The Bone Ammo Supply gives 500 Bone Arrow and 500 Bone Bolts for 20,000 SC. The Combat Toolbelt asks for both currencies, 10,000 GP and 10,000 SC, plus 250 Leather. Area effect removals are where SC meets combat drops, because each one also takes items from that area’s enemies. Stinging Nest takes 25 Royal Honey and 60,000 SC, and Toxic Bog takes 80 Plaguewing Heart and 95,000 SC. The Drowned Abyss removal costs 1,600,000 SC and 2 Drowned Orb.